Show reviews, a gallery or a petition
Let customers review you, show your photos in galleries or collect signatures for a petition.
Three small apps for your website: Reviews, Gallery and Petitions. For each, the easiest way is to ask the AI: open the AI chat, set the scope to Frontend + Wobbio apps (see AI chat settings) and say what you want. The AI adds the app and puts it on your pages.
You can also add an app yourself: in the side menu, select the plus next to Apps, then Add on its card. It then isn't on a page yet: ask the AI to put it there. You manage each app later under Apps in the side menu.
Reviews
Ask for example: “Add reviews: our average score and the newest reviews on the home page, and a page where customers can leave a review.”
Visitors give 1 to 5 stars, their name, their email address (never shown) and their review. A review is on your website straight away, and you get an email about it. It waits for you first, as Waiting, when it contains a link or when many reviews come in at once.
In the window of the app, on the Reviews tab:
- Under Ask customers for a review, select Copy and send the link to your customers. It opens the page with the review form.
- Publish or Hide a review. Hide is for spam or abuse: to an unhappy review, a reply works better.
- Reply: your reply shows under the review.
- Feature: for a block with your best reviews, for example a slider.
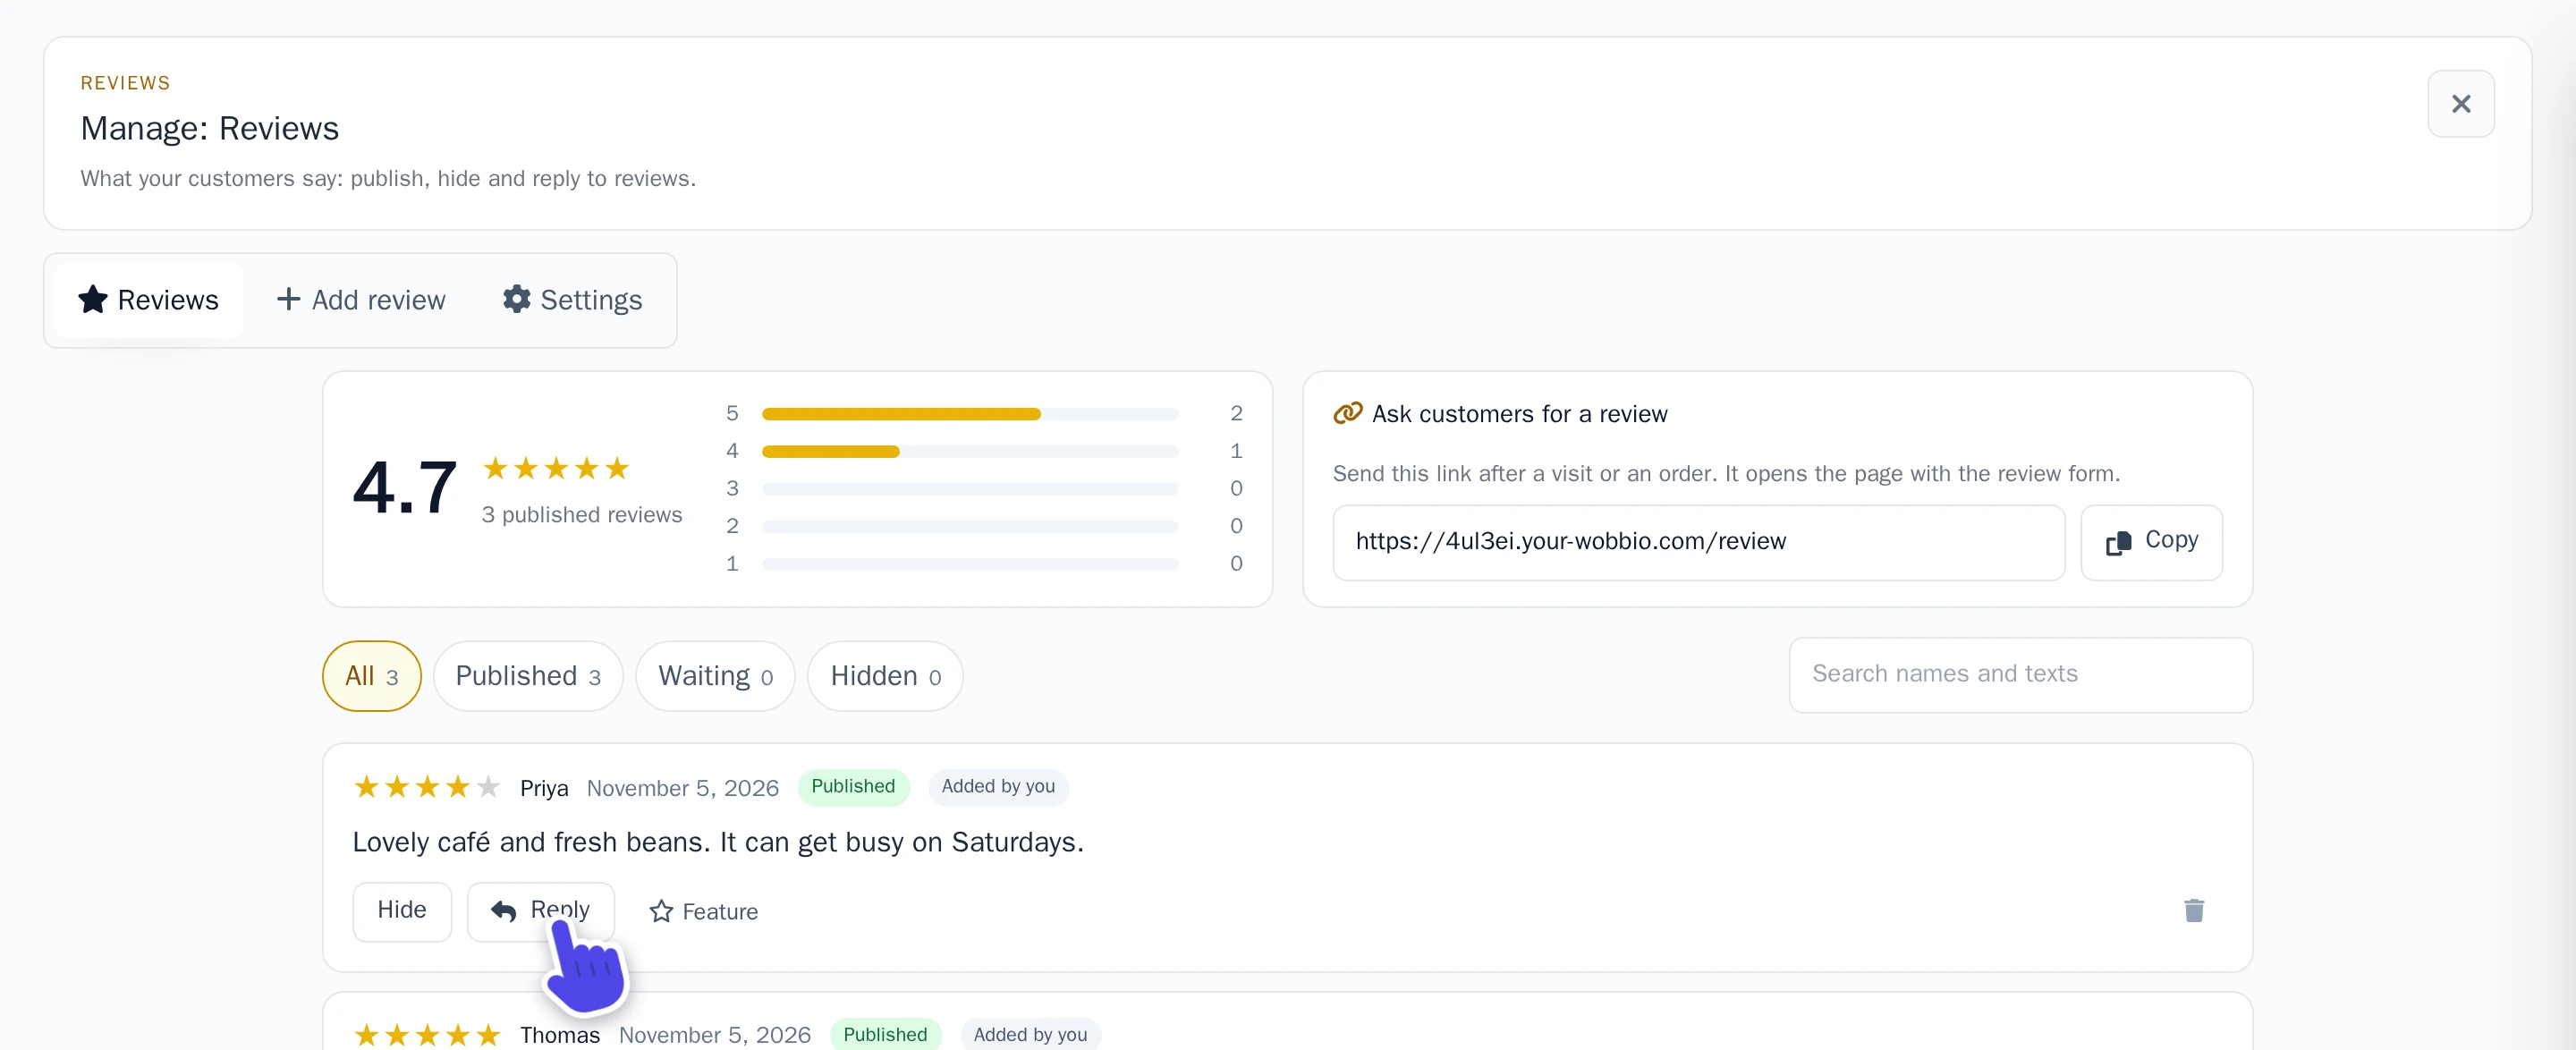
Got a review by email or on paper? Add it on the Add review tab, in the customer's own words. It is marked Added by you.
Want to read every review before it goes online? On the Settings tab, turn on Check reviews before they are published and select Save settings. That tab also has the Email address of the reviewer, the Order on the website and who gets the emails.
Gallery
One Gallery app holds all your galleries, for example one per season or per event.
- In the side menu, select Apps, then your gallery.
- Select New gallery.
- Fill in the Name and select Save gallery.
- Select Upload images, or Choose from library for photos you already uploaded. You can also drag photos from your computer onto the window, several at once.
- Drag a photo by its handle to change the order. The order is saved by itself.
- Under each photo, write a Description if you like, and the Alt text: what the photo shows, for visitors who can't see it. These are saved by themselves too.
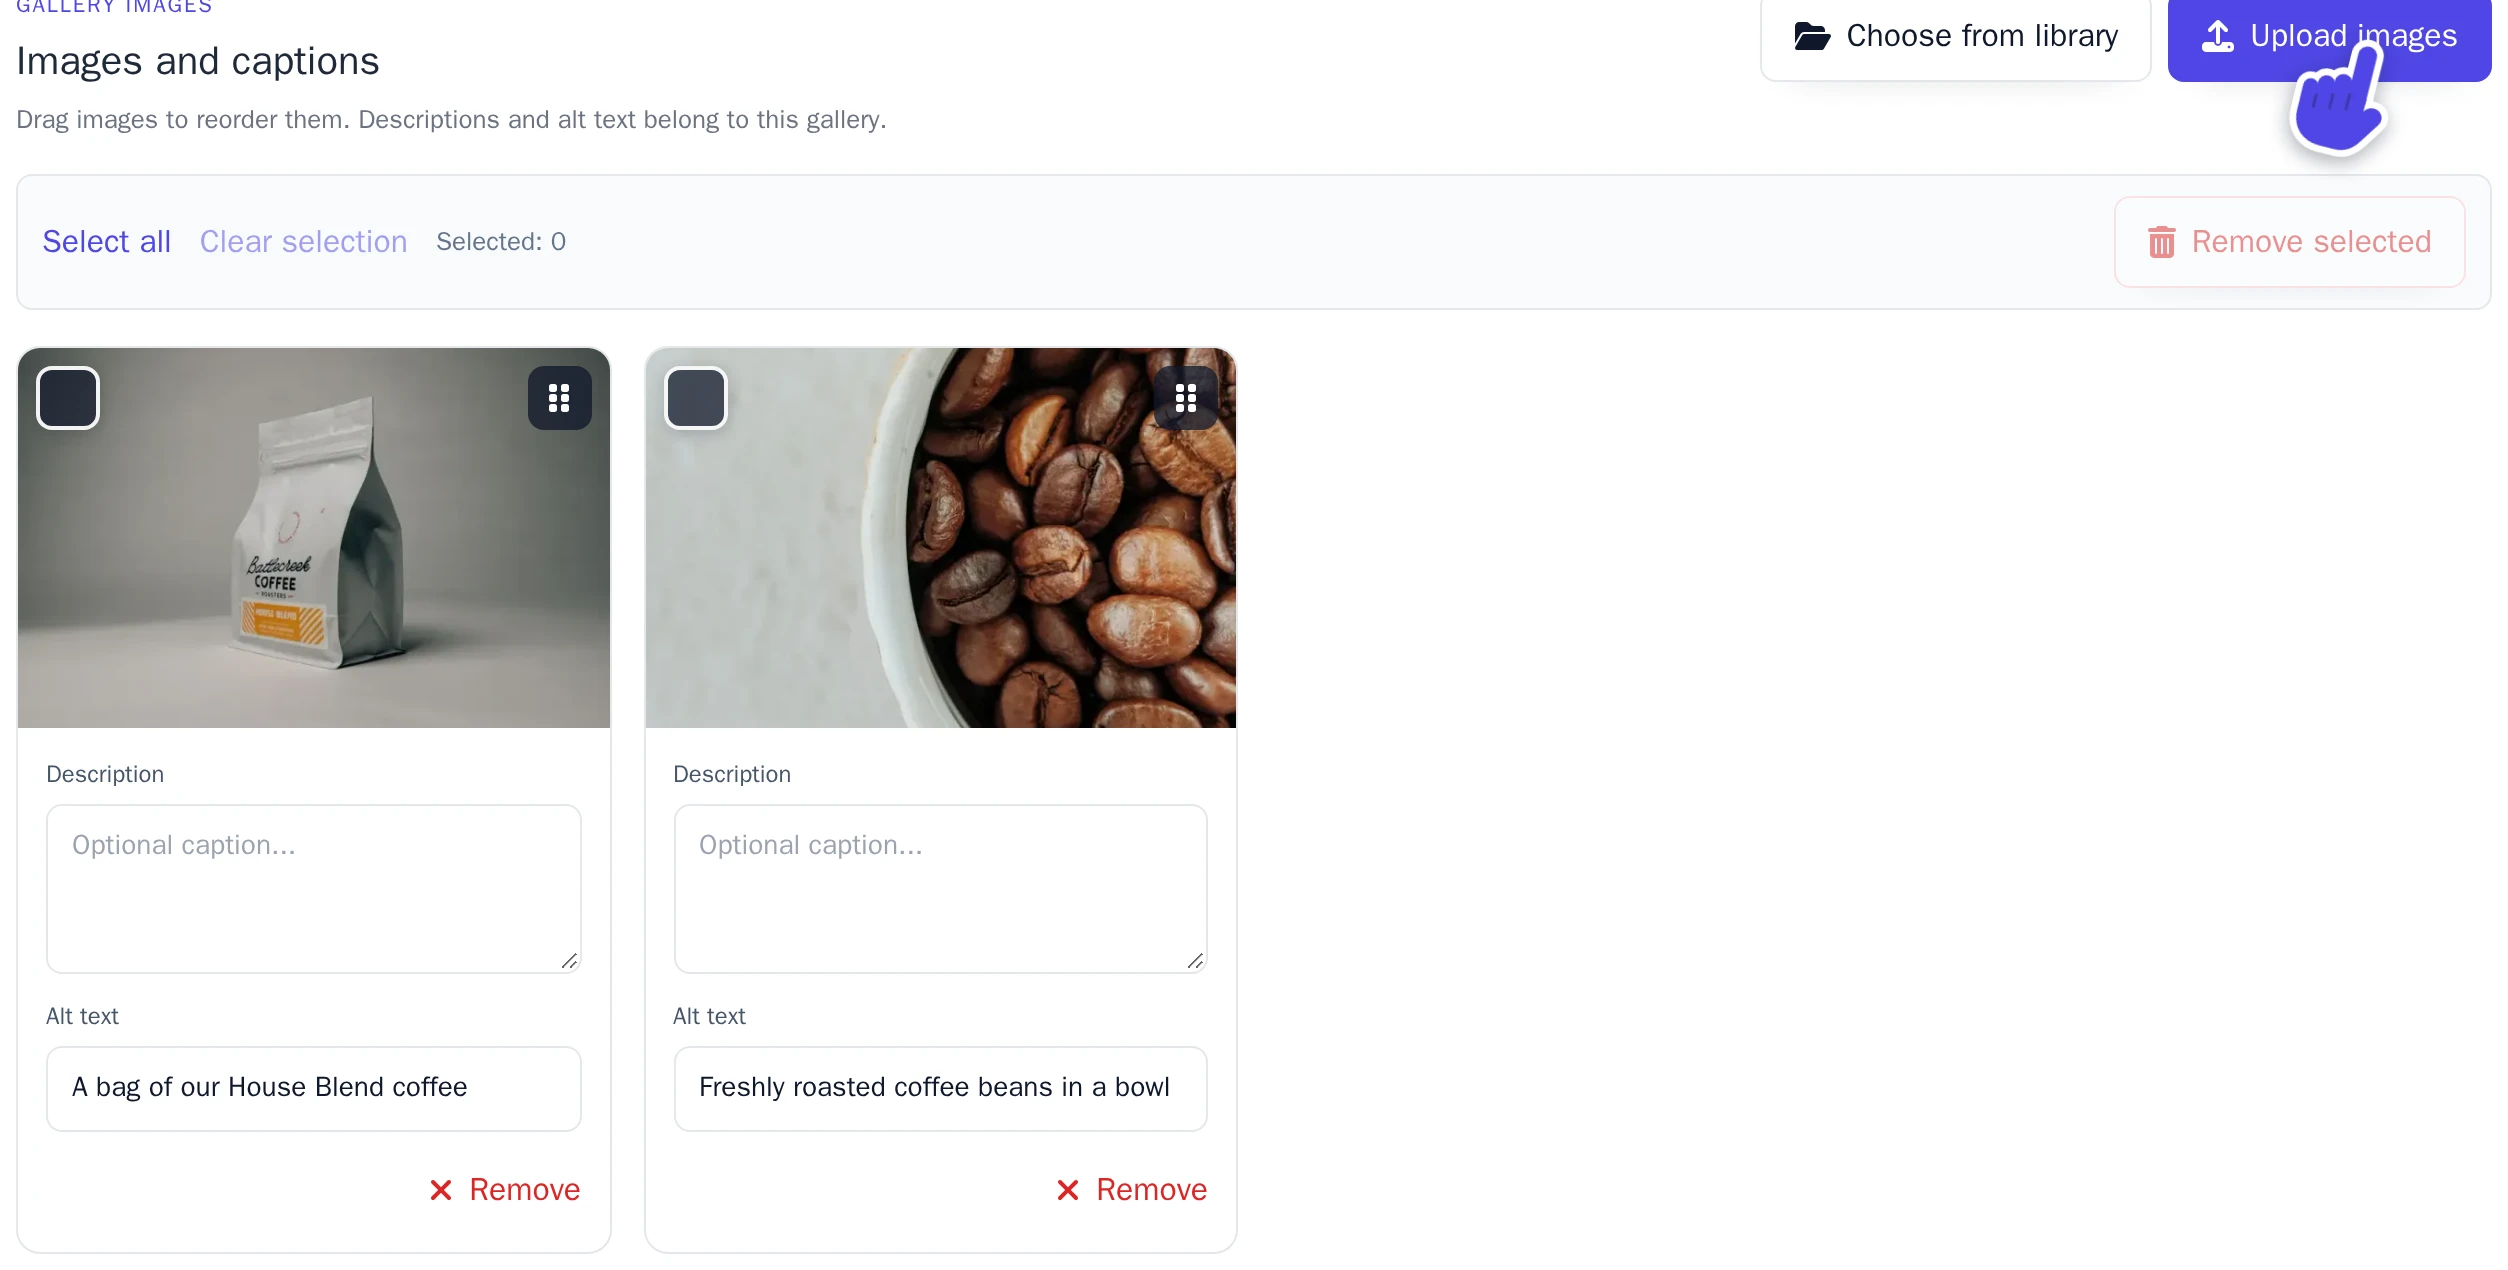
Then ask the AI for example: “Show the Summer gallery on the About us page.” A gallery with Published turned off doesn't show on your website.
Petition
Ask for example: “Add a petition to save the old bandstand, on a new page called Petition, with the number of signatures.”
Adding it yourself? The Add petition window lets you choose the Signer fields and how signatures are checked.
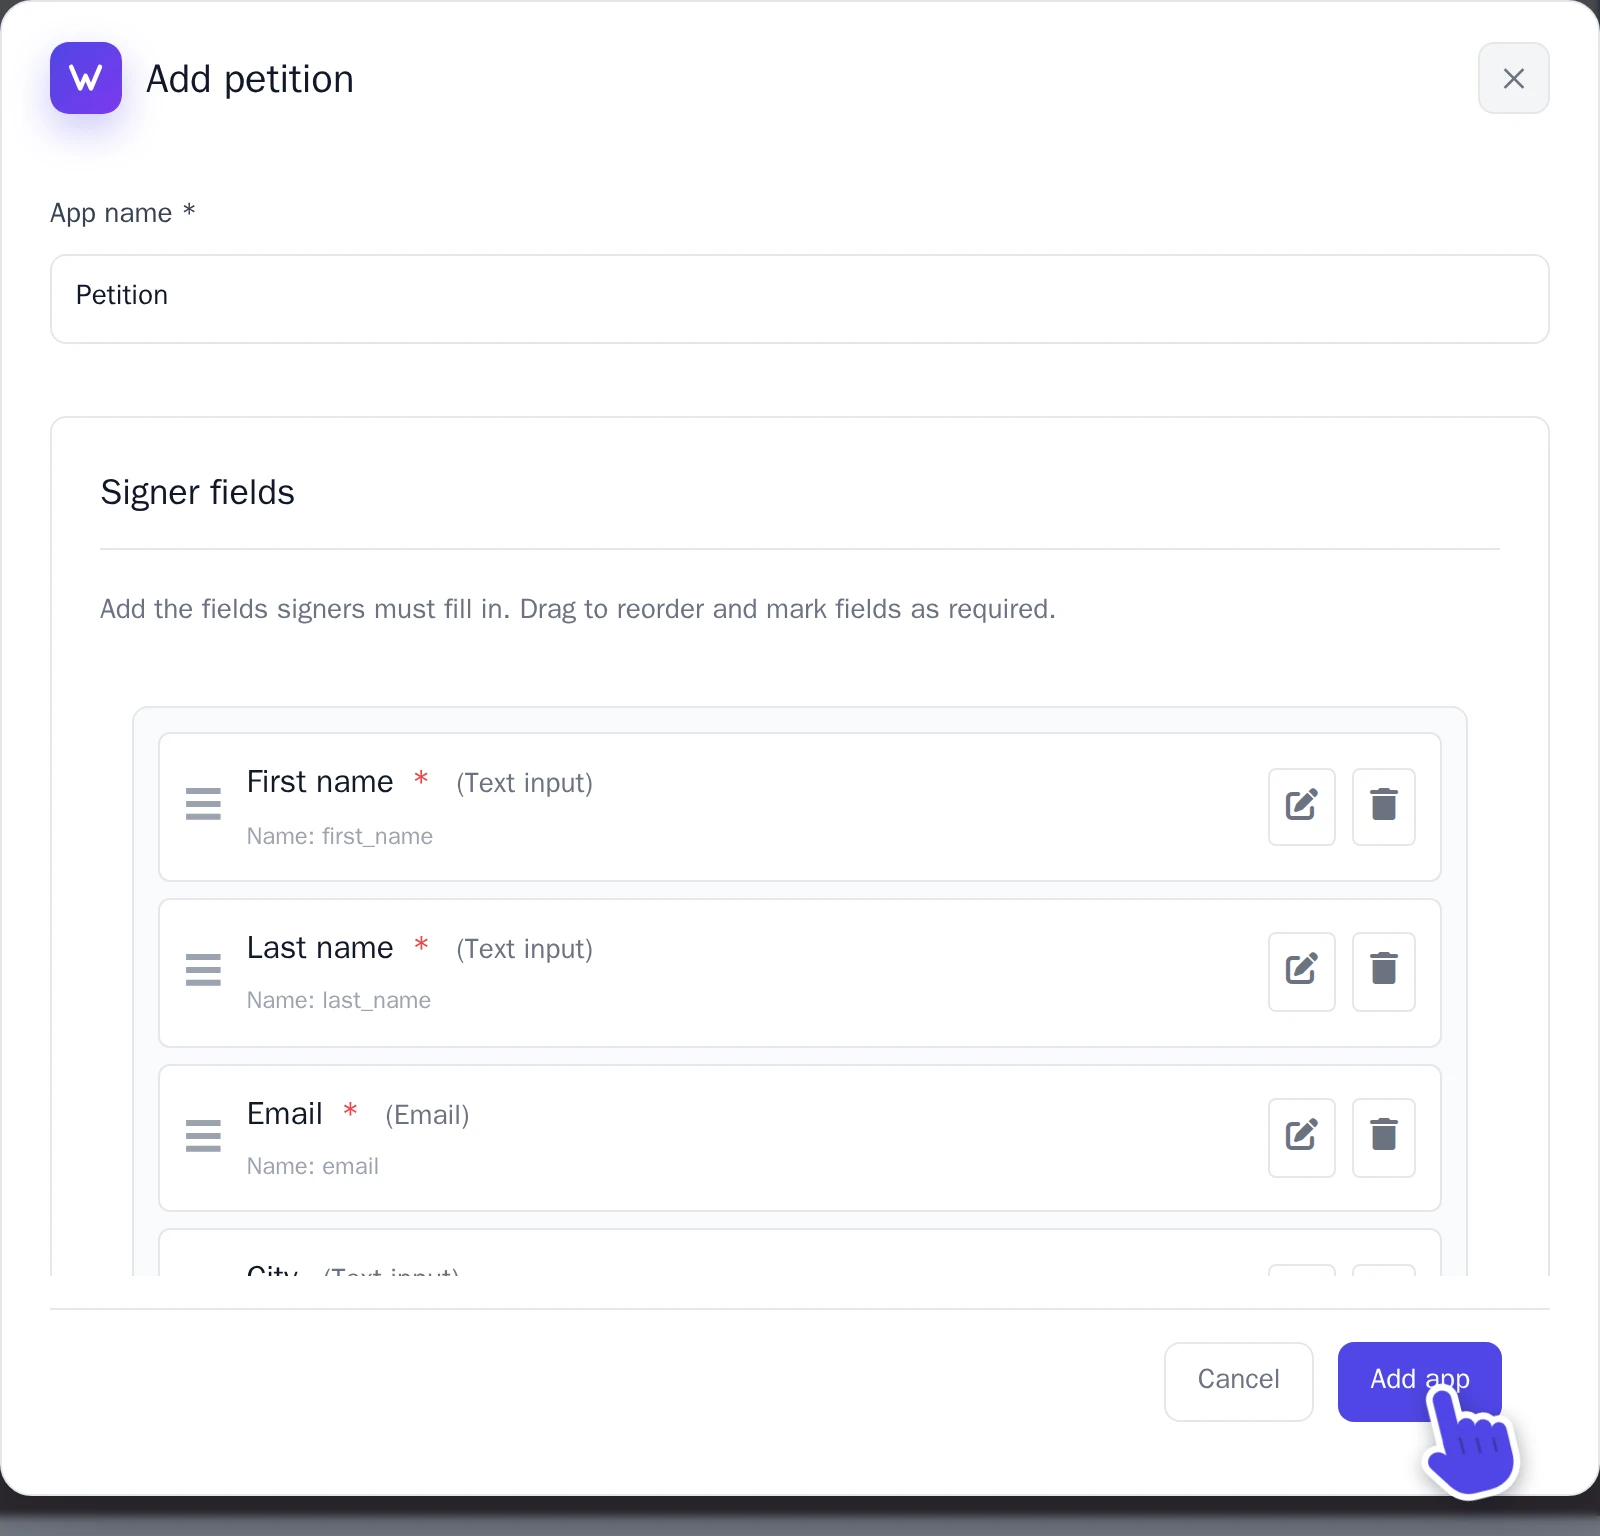
The title, the text and the goal of your petition are part of the page, not of the app. To change them, ask the AI.
Under Verification rules, the Verification mode decides when a signature counts:
- Email confirmation: the signer gets an email and confirms with the link in it. Until then the signature is Unconfirmed.
- Moderation required: you approve every signature yourself. Until then it is Pending.
- No verification: every signature counts straight away.
Only Approved signatures are counted on your website. By default, one email address can sign once per 24 hours: see Duplicate handling.
On the Signatures tab you see every signature. Next to each one, Approve, Reject or Mark spam. Select Export CSV to download the signatures as a CSV file, for example to hand them over.