Send a newsletter
Collect email addresses on your website, let people confirm their subscription and send them a newsletter.
On this page
With the Newsletters app, visitors sign up with a form on your website. They get an email to confirm, and only then are they on your list. You write a newsletter in the editor and send it to everyone on the list.
Add a sign-up form
The easiest way is to ask the AI. It adds the app and makes the pages for it.
- Open the AI chat.
- Under the message box, set the scope to Frontend + Wobbio apps. Read more in AI chat settings.
- Ask for example: “Add a newsletter sign-up form to the footer, with a page that confirms the subscription and a page to unsubscribe.”
People who sign up land on the confirm page from the link in their email; the unsubscribe link in every newsletter goes to the unsubscribe page. The addresses of both pages are on the Settings tab, under Confirm & unsubscribe pages.
Choose the sender
- Select the name of your website at the top of the editor, then Edit project details.
- Under From email, choose your address. You can only choose addresses on your own domain that have all the mail settings.
- Under From name, type the name people see, or leave it empty to use the name of your website.
- Select Save changes.
At the bottom of the Settings tab of the app you then see Sender verified with your address. Without a sender, it says Sender not configured, and newsletters and test emails are not sent.
Set up the sign-up
In the side menu, select Apps, then your newsletter. Its window opens on the Settings tab.
- Subscriber fields: the email address is always asked. Select Add field to ask for more. After a change, ask the AI to make the form on your website match.
- Signup messages: what visitors see after they sign up, or when something goes wrong.
- Confirmation email: the email that asks new subscribers to confirm. Keep
{confirm_url}in it: that is the link they select. - New subscribers: turn on Email me about new subscribers and choose a verified address under Send to.
Select Save changes when you are done.
Your subscribers
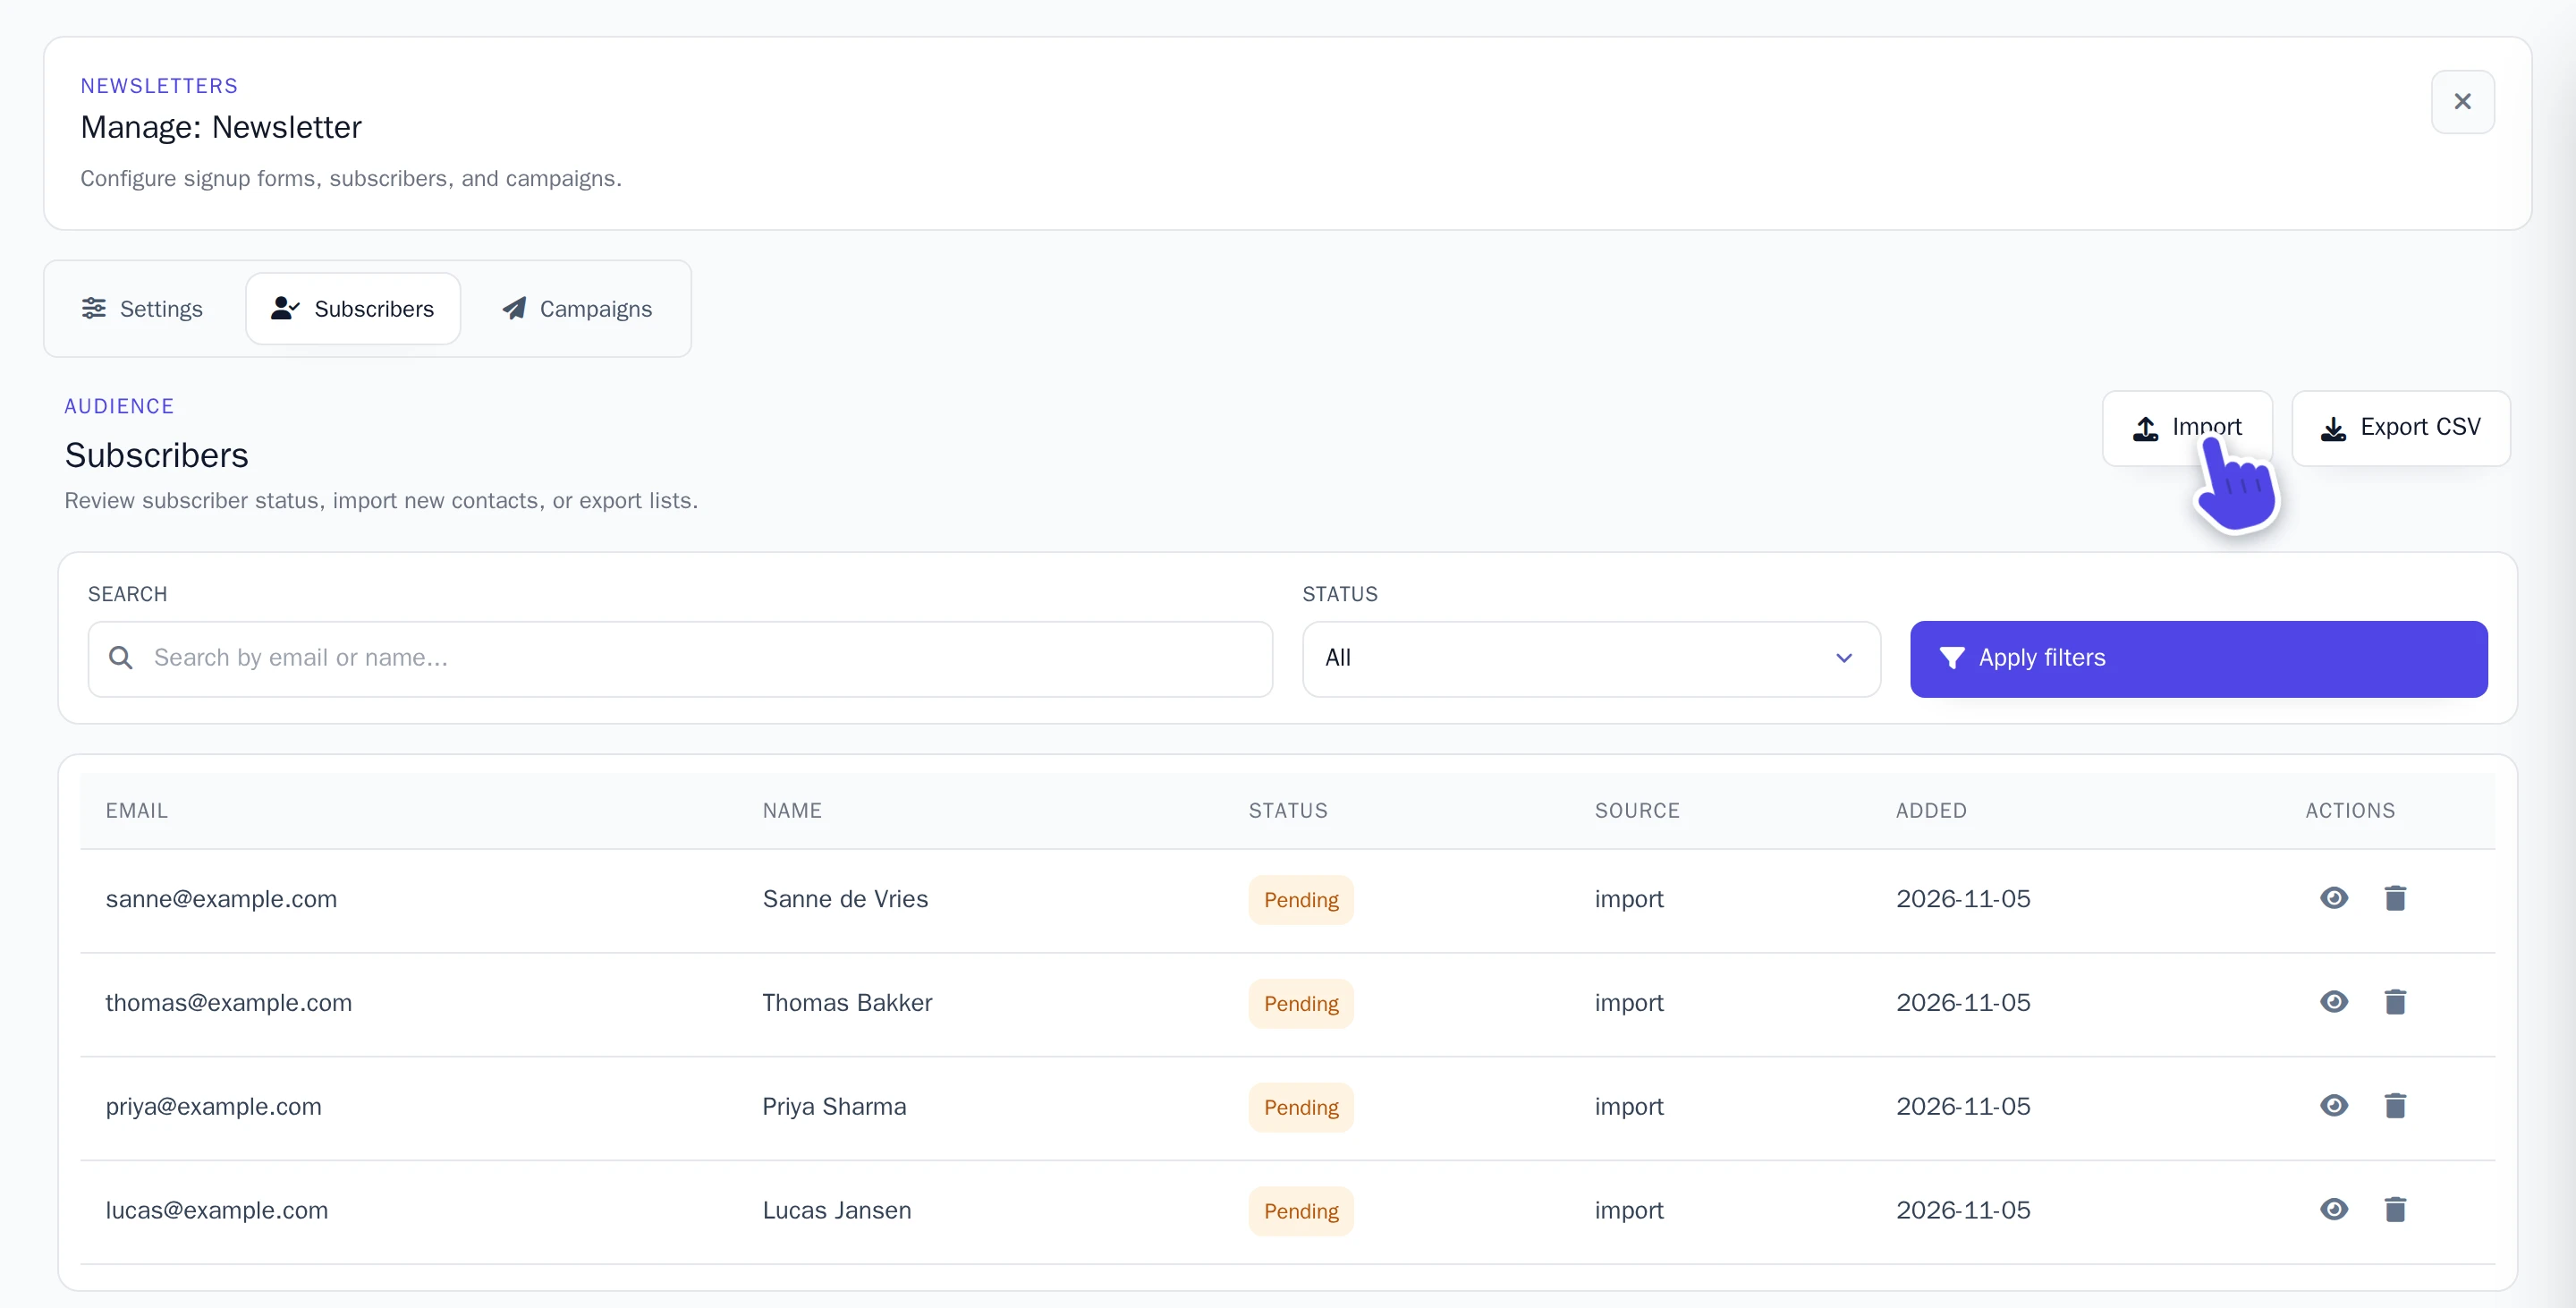
The Subscribers tab shows everyone who signed up. Someone who hasn't confirmed yet is Pending; after confirming, Active. Only Active subscribers get your newsletters.
- Import: paste addresses you already have, one per line, or as
Name, email. Each new address gets the confirmation email too, and is on your list once it is confirmed. - Export CSV: downloads the list as a CSV file, which opens in Excel or another spreadsheet. Choose a Status and select Apply filters first to export only those subscribers.
Write and send a newsletter
-
Open the Campaigns tab and select New campaign.
-
Fill in the Subject and the Email body.
-
Select Save. The newsletter is now in the list as Draft.
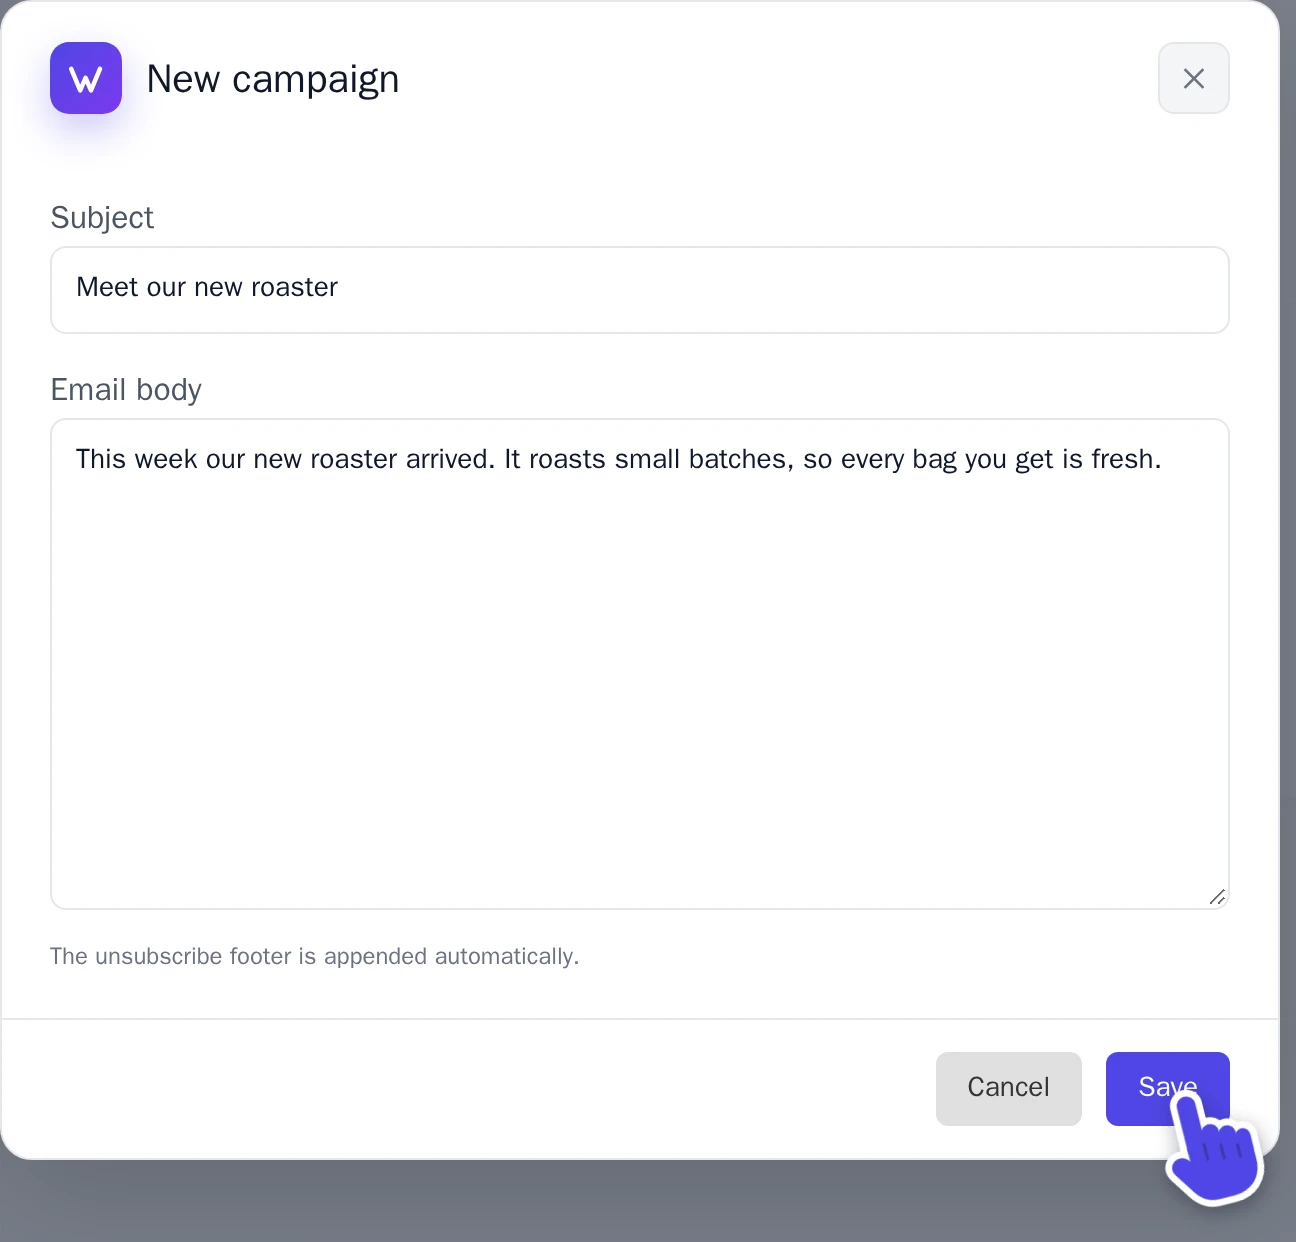
The New campaign window. -
Next to the newsletter, select the test tube icon, Send test email. The test goes to the email address of your Wobbio account. Check it, and change the text with the pencil, Edit campaign, if needed.
-
Select the paper plane icon, Send campaign.
Wobbio sends the emails in the background, so you can close the editor. The list shows how many have been sent, and then Sent. Shows a newsletter Failed? Check your sender, and send it again.
Unsubscribes
Every newsletter ends with a link to unsubscribe. You change the text around it on the Settings tab, under Unsubscribe footer; the link itself is always added. Someone who unsubscribes is Unsubscribed on your Subscribers tab and gets no more newsletters.