Let visitors create an account
Let visitors sign up and sign in on your website, make pages for members only, and approve or block members.
On this page
With the User accounts app, visitors can create an account on your website and sign in. You choose who may join, which pages only members can see, and you can approve or block members.
Add the app
-
In the editor's side menu, under In this project, select the plus next to Apps. The Recommended apps window opens.
-
On the Users card, select Add.
-
Give the app a name, like “Members”. Visitors don't see it.
-
Check the Registration fields. First name, Last name, Email and Password are already there; Email and Password can't be removed. Select Add field to ask for more, like a phone number.
-
Under Access settings, choose who may join:
- Registration mode: Open lets anyone sign up. With Invite only, visitors need an invite code from you. See Invite members.
- Approval mode: with Manual approve, new members can only sign in after you approve them.
- Require email verification: members first confirm their email address with a link.
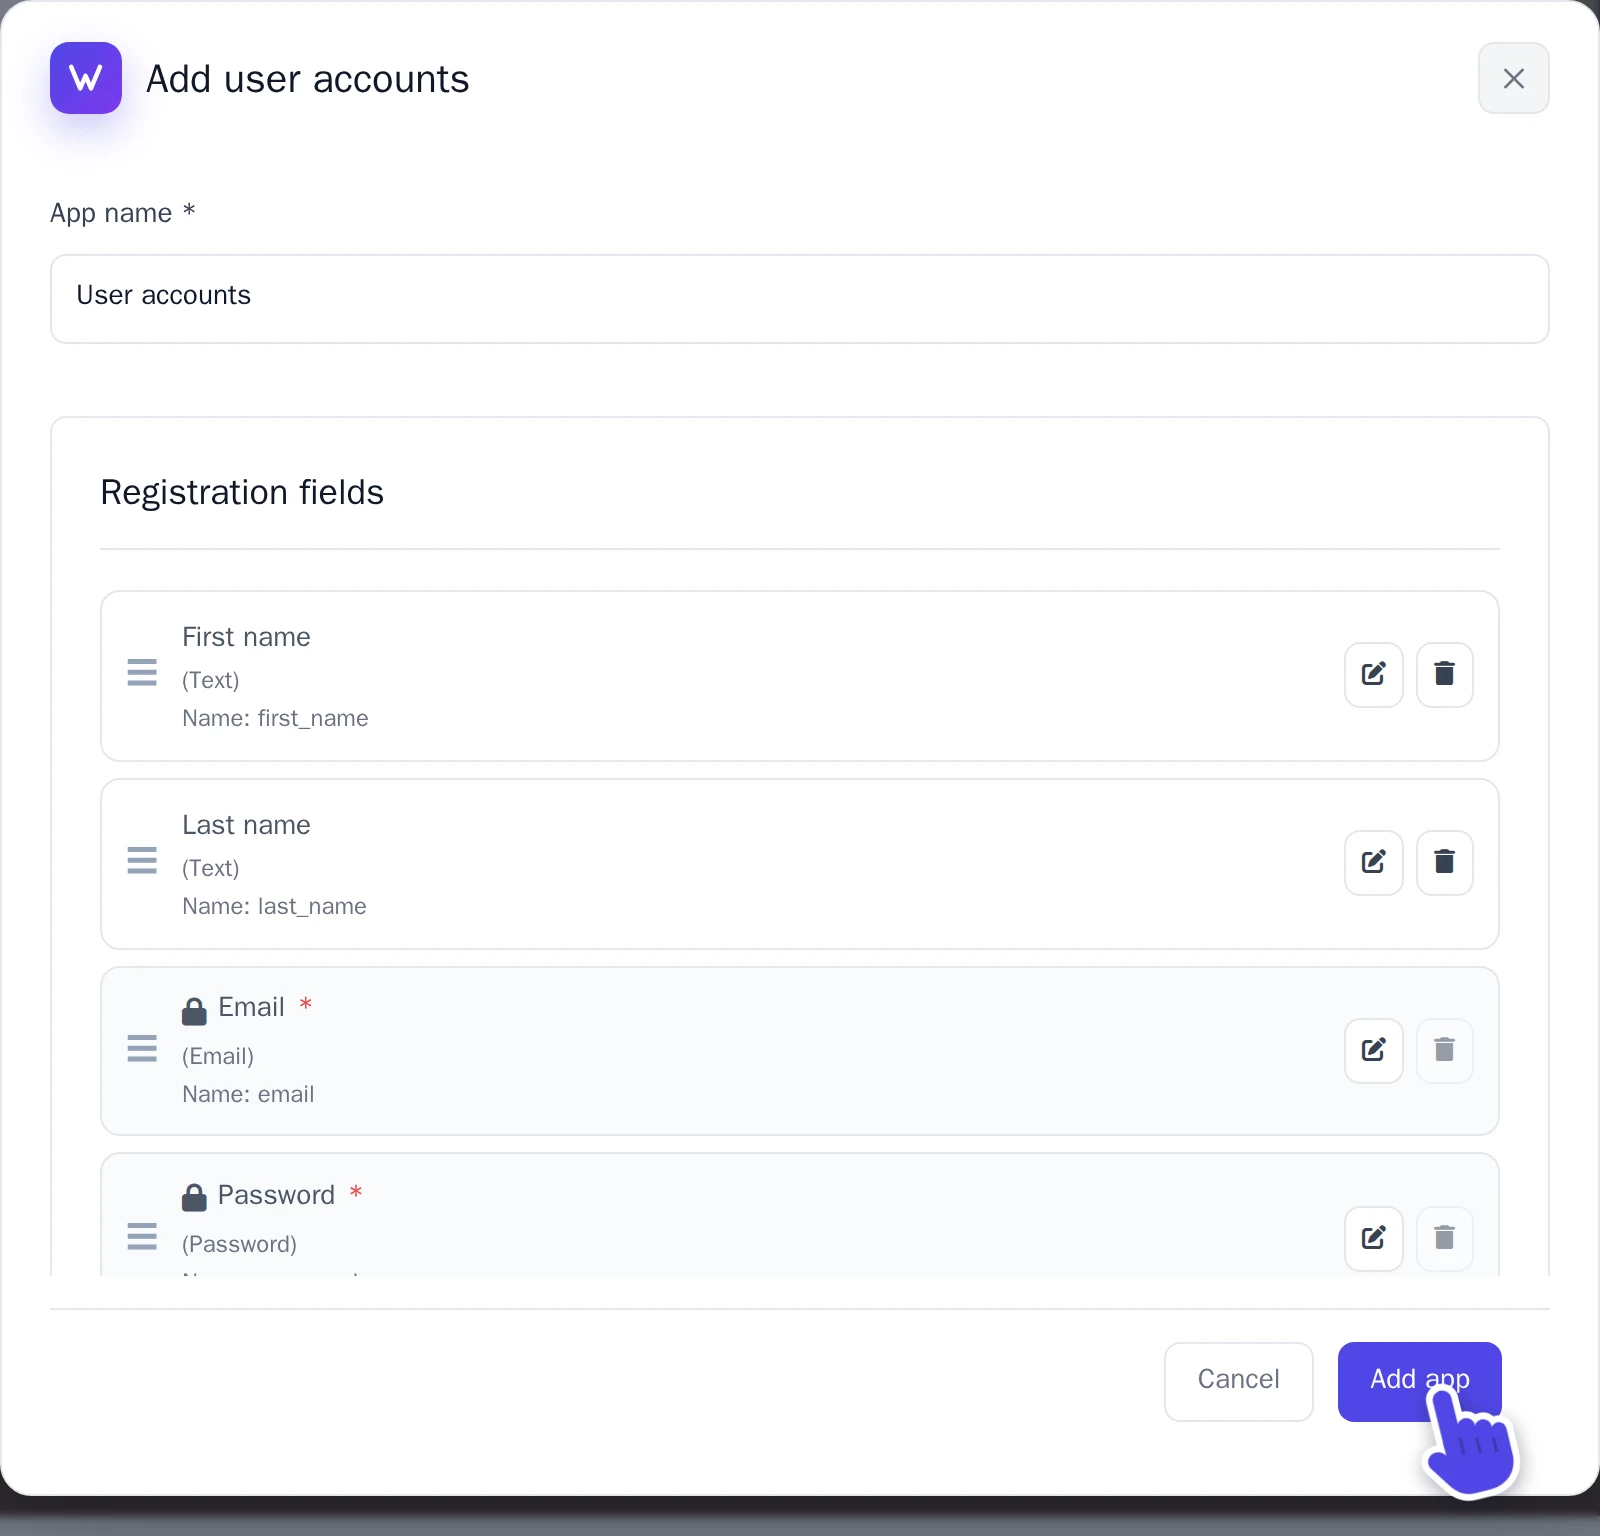
The Add user accounts window. -
Select Add app.
Put sign-up and sign-in on your website
The app has no pages of its own: the AI builds them for you.
- Open the AI chat and set it to Frontend + Wobbio apps. See AI chat settings.
- Ask for the pages, for example: “Add a Sign up page and a Sign in page for the user accounts app, and the pages for the links in its emails: confirm your email and reset your password.”
The emails members get link to the pages at /verify-email and /reset-password. Without those pages, the links lead nowhere.
Make a page for members only
Once the app is added, you can choose for each page who can see it: every member who is signed in, only the members you select, or members from a domain you allow. See Choose who can see a page.
Approve, block or delete members
- Under Apps, select your app.
- Select Users. The number on the tab is how many members wait for your approval.
-
Next to a member, select what you want:
- View: their answers to the sign-up fields.
- Approve: they can sign in.
- Reject or Disable: they can't sign in anymore.
- Delete: removes the account. With the same email address, they can sign up again.
Wobbio doesn't email you when someone signs up. With Manual approve, check this tab now and then to approve new members.
Invite members
With Invite only, the app's window has an Invites tab.
- Optionally fill in the email address of the person, or after how many days the invite expires.
- Select Create invite. A window shows the invite code once.
- Send the code to the person. They enter it when they sign up. With an email address, it only works for that address.
Emails members get
Wobbio sends members an email to confirm their email address (when you turn that on), to reset a forgotten password, and to confirm a new email address. Change the texts on Settings, under Email templates, and select Save settings. Members get no email when you approve them.