Choose who can see a page
Make a page only for members who are signed in, for members you choose, or for people from your own company.
2 min read
Updated 9 Nov 2026
On this page
A page is public unless you say otherwise. With Access control, you make a page only for members of your website: everyone who is signed in, or only some of them.
Choose who can see a page
-
Open the page details of the page.
-
Under Access control, choose who can see it:
- Public: everyone. This is how every page starts.
- Logged-in users: every member who is signed in.
- Specific users: only the members you select in the list. Select several with Ctrl, or Cmd on a Mac.
- Profile field match: members whose answer to a sign-up field is one of the values you choose. For example, a “Plan” field with the value “Gold”.
- Email domain: members with an email address at a domain you allow, like
yourcompany.com. Separate domains with commas. A domain under Deny domains is always refused, also when it is allowed too.
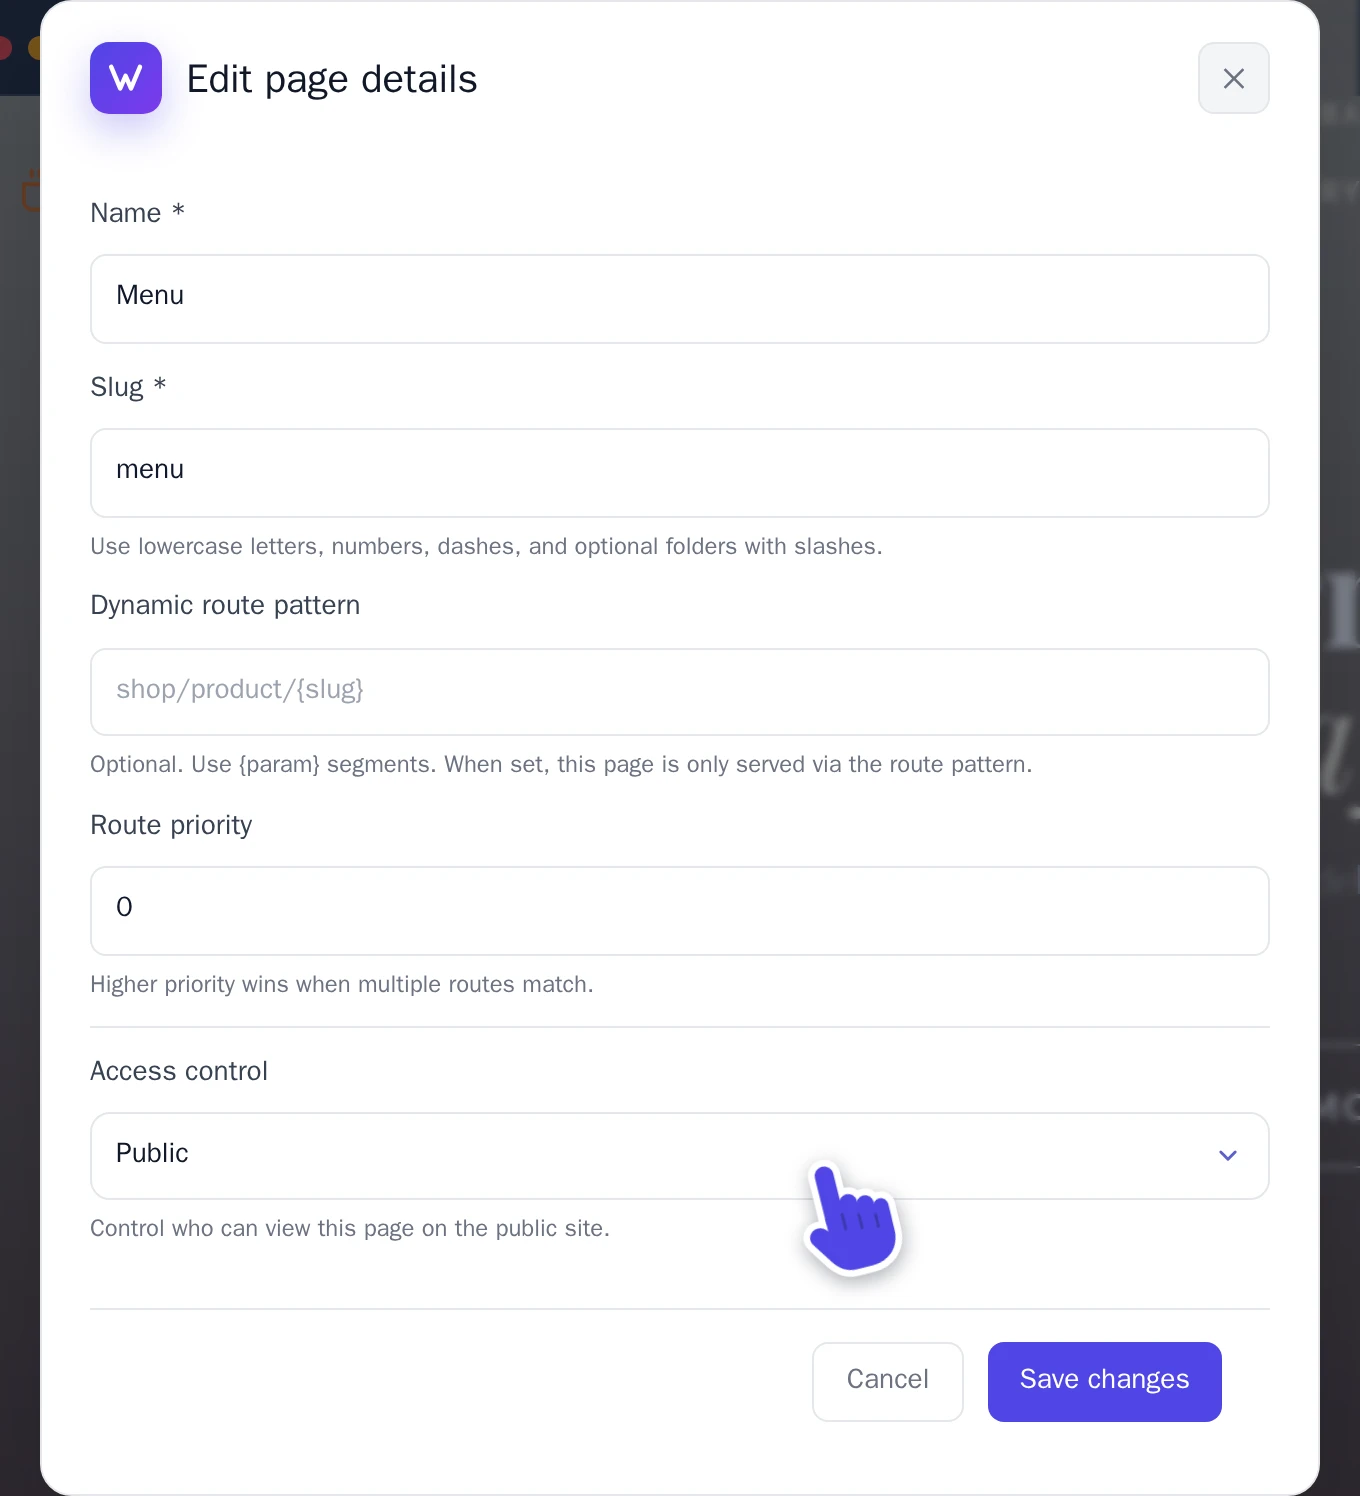
Access control in the Edit page details window. -
Select Save changes. In the Pages list, the page now has a lock.
-
Publish your website. Until you do, the live page is still public.
Access control is only in the window once the User accounts app is added.
What other visitors see
- Visitors who aren't signed in go to the sign-in page of your website. After they sign in, they come back to the page, if they are allowed to see it.
- Signed-in members who aren't allowed see a short message that the page is for members only, with a link to your home page.
- Links to the page in your menu are hidden from visitors who can't open it. You still see them in the editor. Links elsewhere on the page stay visible.
- A page that isn't public is never shown in search engines. See Get found on Google and Bing.
Did this help?
Related guides
Apps
Let visitors create an account
Let visitors sign up and sign in on your website, make pages for members only, and approve or block members.
Pages
Edit page details
Change a page’s Name and its Slug, the part of its address after your domain.
Publishing
Get found on Google and Bing
Your sitemap and robots.txt are made for you. See what search engines find, hide pages and add your website to Google Search Console.