Sell online with a web shop
Add a shop to your website, add your products, choose how customers pay and follow your orders.
A web shop on Wobbio uses two apps:
- E-commerce: your products, shipping costs and orders.
- Payments: how your customers pay, VAT and invoices.
Add a shop
The easiest way is to ask the AI. It adds both apps and makes the pages.
- Open the AI chat.
- Under the message box, set the scope to Frontend + Wobbio apps. Read more in AI chat settings.
- Ask for example: “Add a web shop where people can buy our coffee beans: a shop page with the products, a page for each product, a cart and a checkout, and a Shop link in the menu. Add two products: House Blend 250 g for 9.50 euro and Ethiopia Yirgacheffe 250 g for 12.50 euro. For now customers pay by bank transfer.”
The AI adds a shop page, a page for each product, a cart and a checkout, and the products you name.
Add and change products
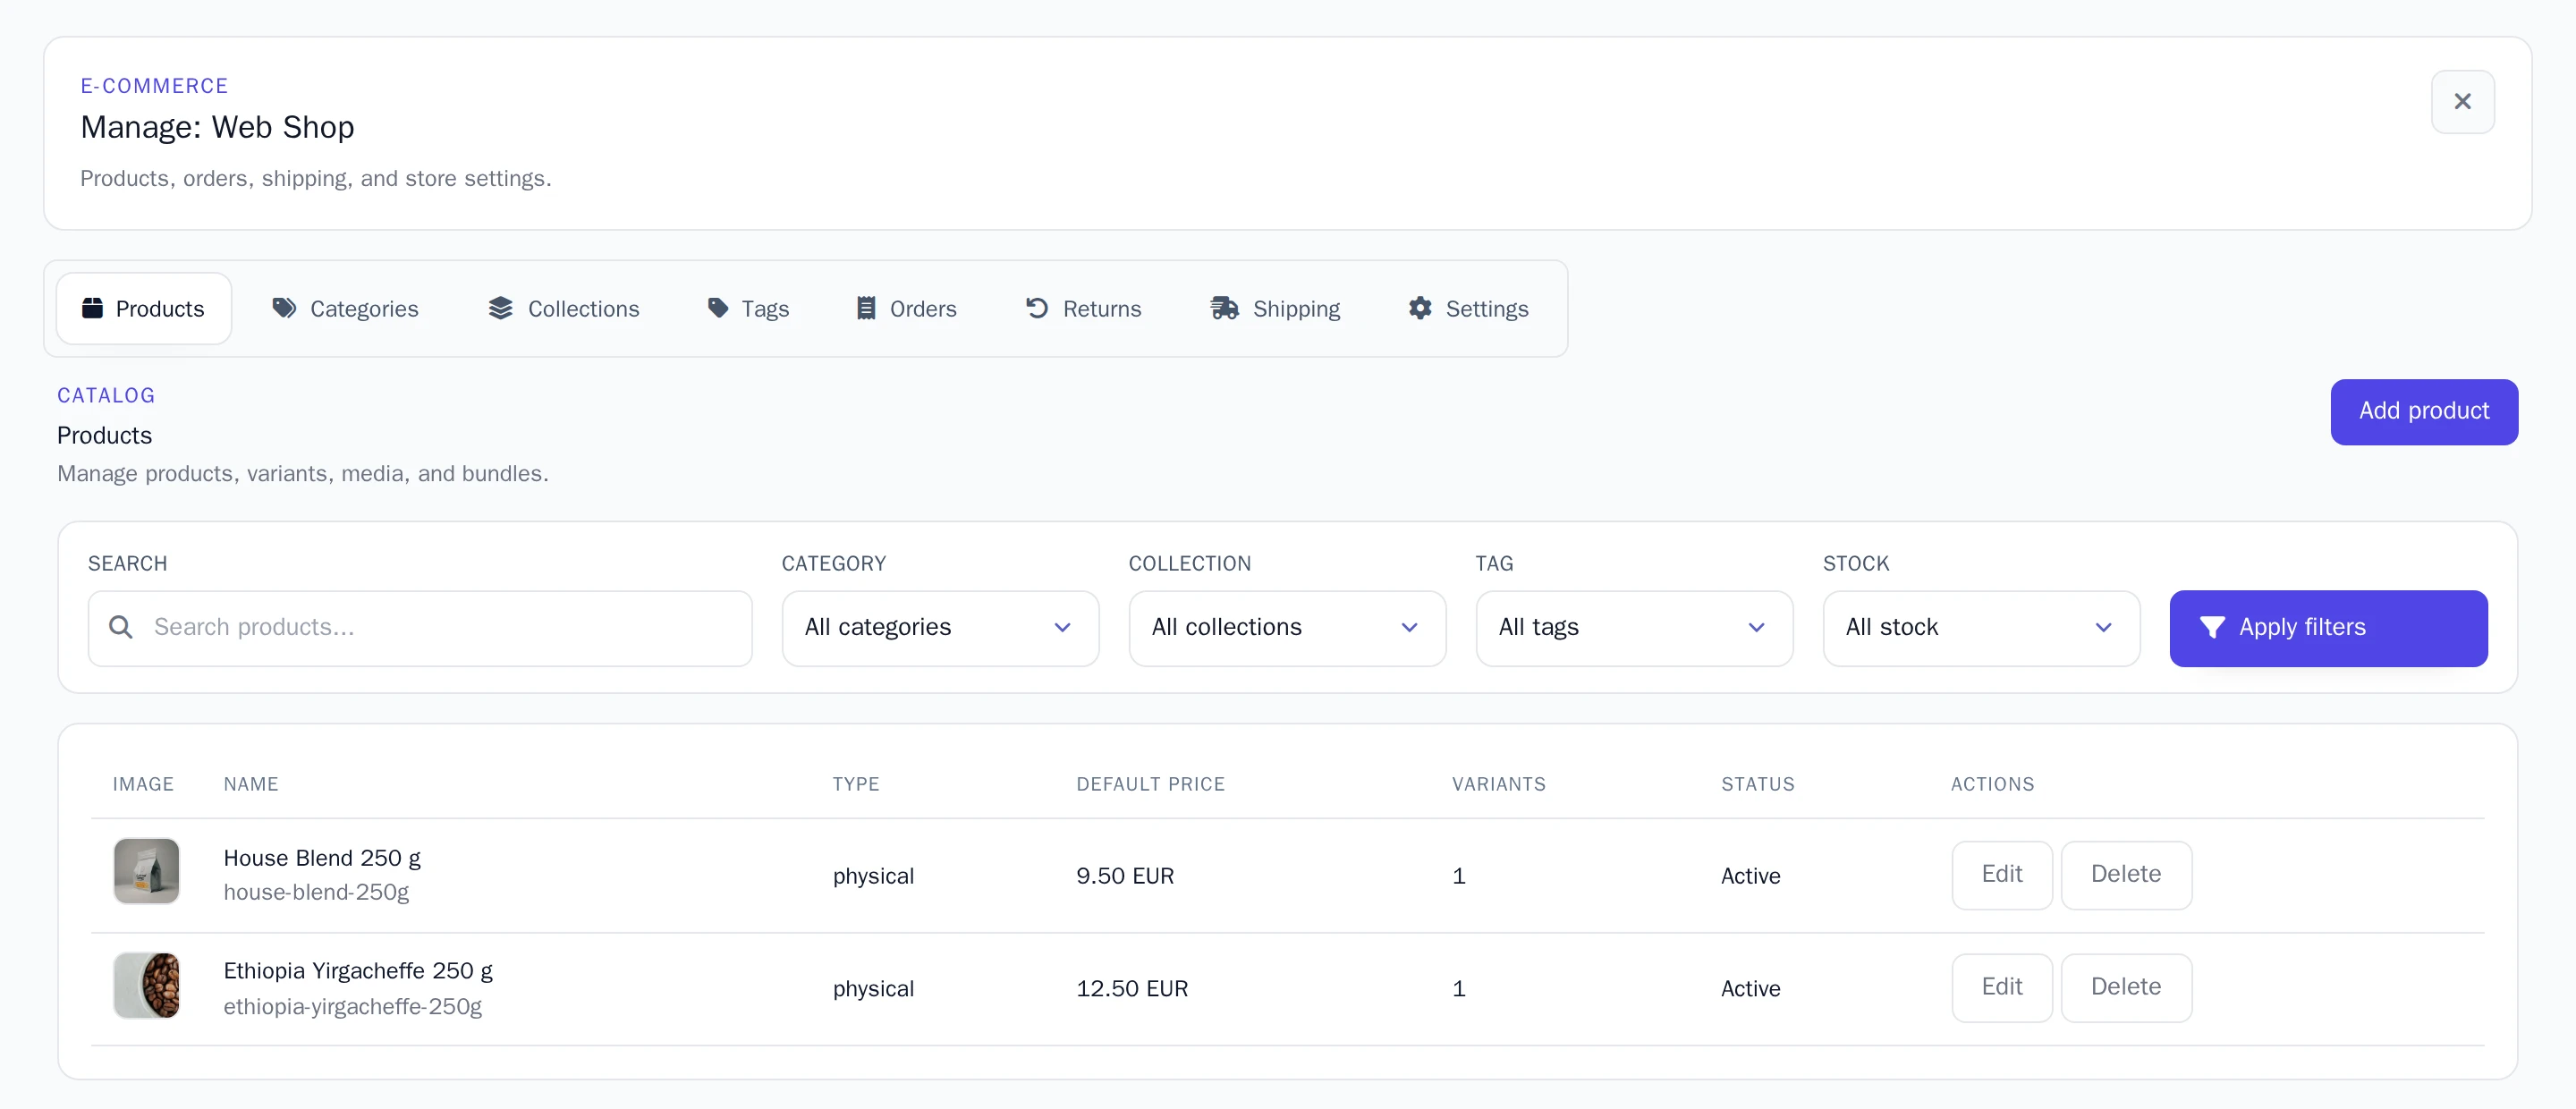
- In the side menu, select Apps, then your shop. Its window opens on the Products tab.
- Select Add product, or Edit next to a product.
- Fill in the Name and a Description.
- Under Variants, fill in the Price. Selling the same product in more sizes or colors? Add a variant for each one, with its own price.
- Under Media, add photos.
- Select Save.
Want to keep track of how many you have left? Turn on Track stock and fill in the Stock.
Shipping costs are on the Shipping tab: select Add zone for the countries you send to, then Add rate for what it costs.
Choose how customers pay
In the side menu, select Apps, then Payments. On the Settings tab you choose one of two ways.
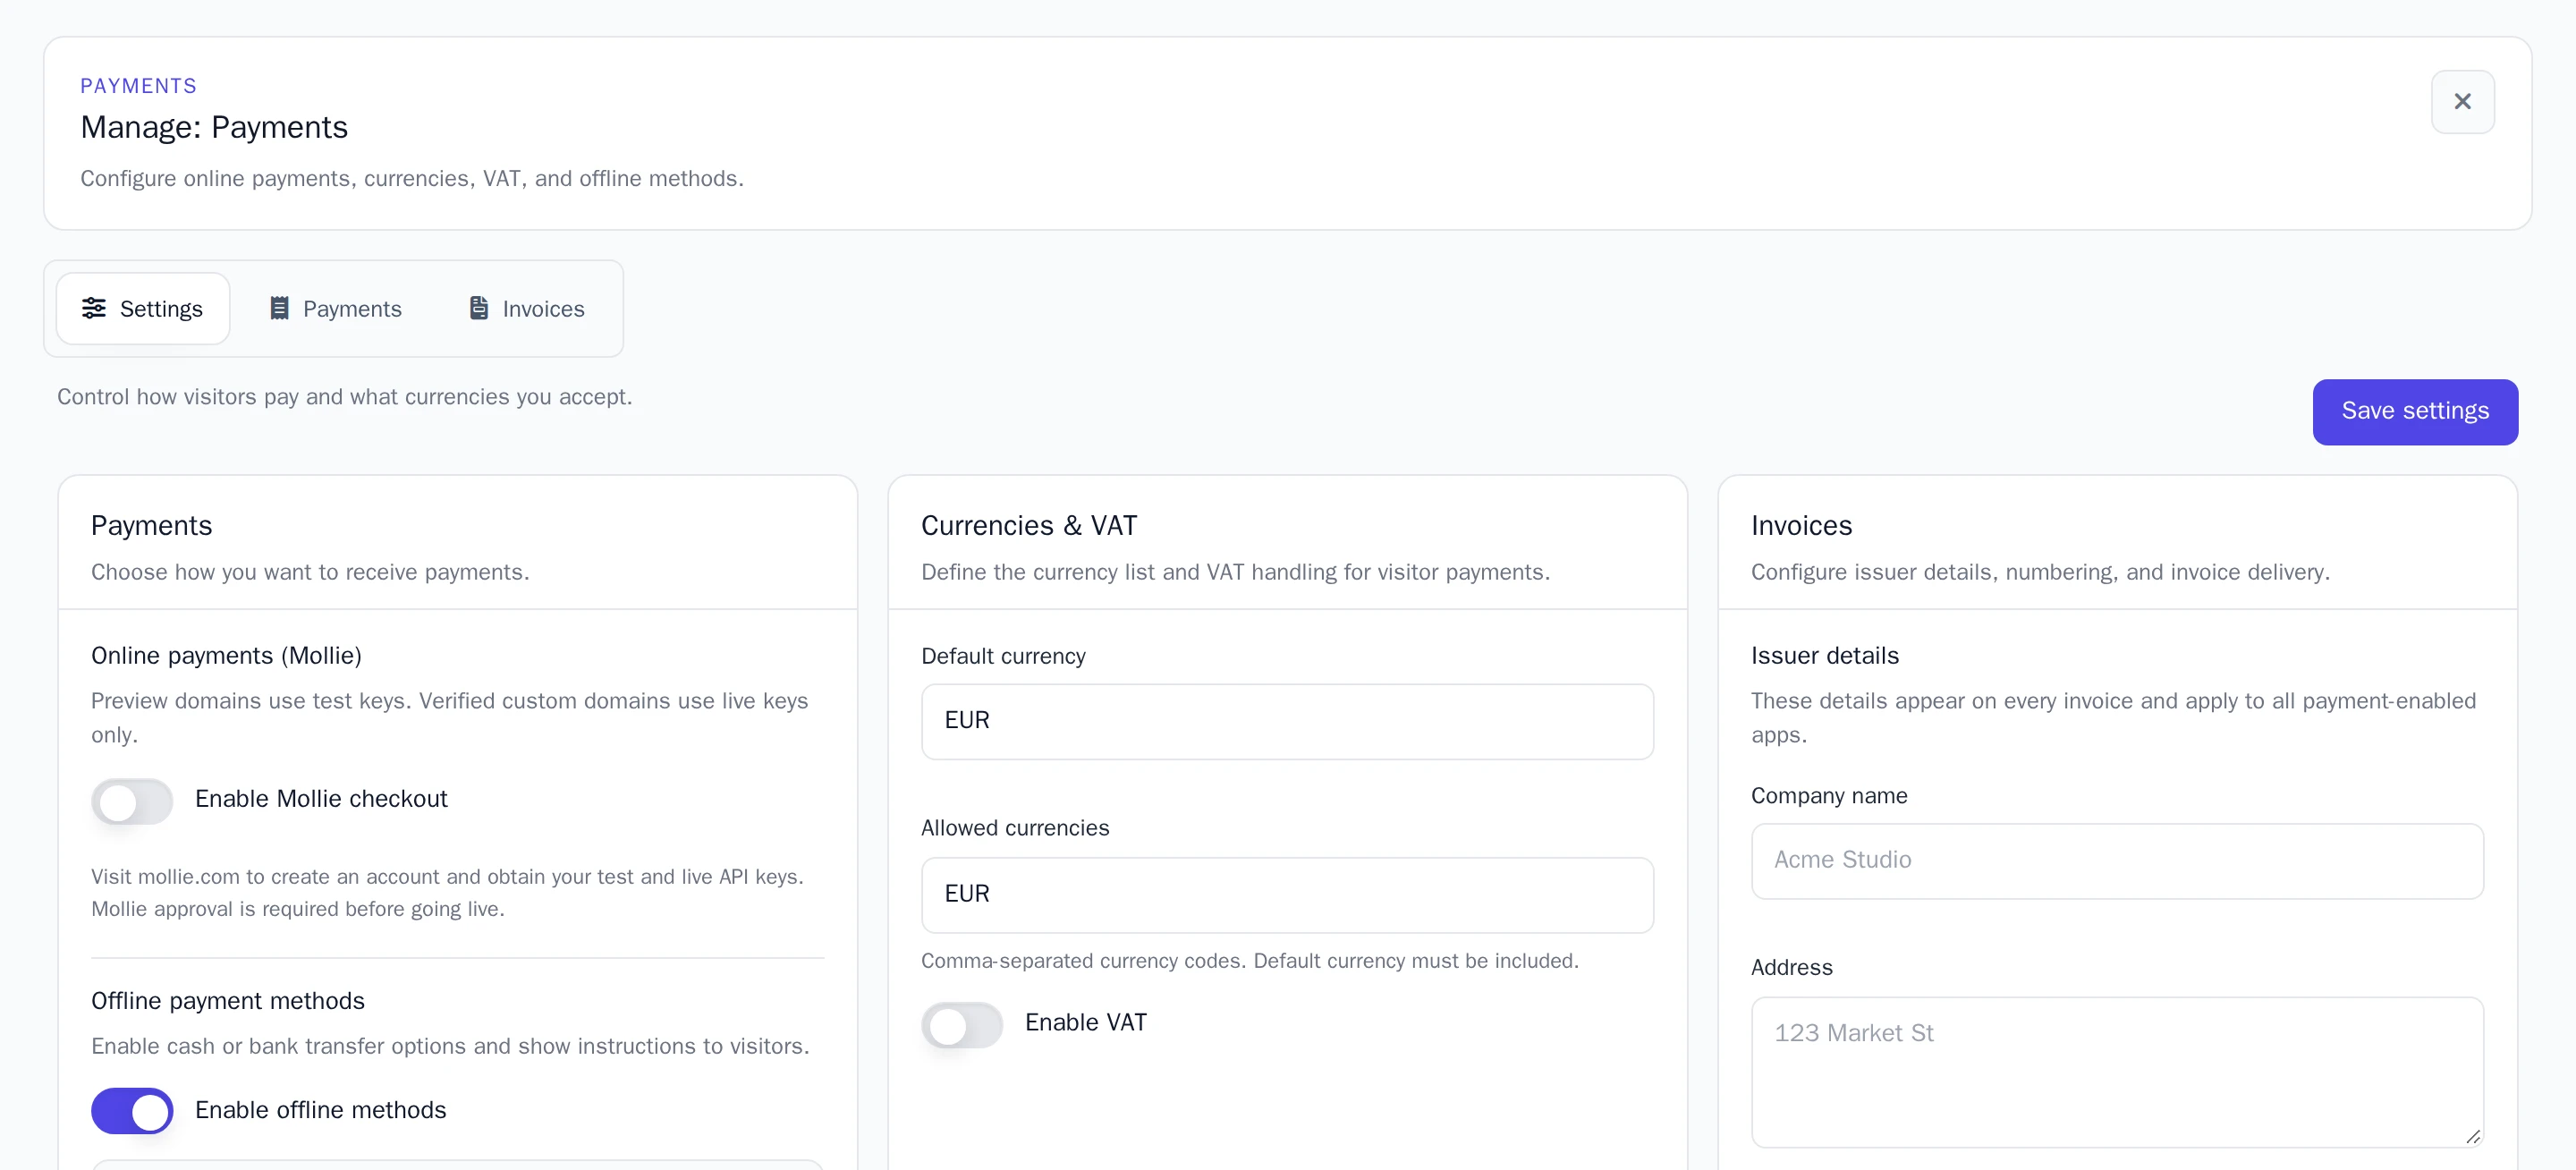
Bank transfer or cash. Turn on Enable offline methods and write under the instructions how customers pay you, for example your bank account. Customers see these instructions when they order.
Online, with iDEAL, cards and more, through Mollie. You need your own account at Mollie, the payment company. Payments go straight to your Mollie account.
- Make an account at mollie.com. Mollie checks your business before you can receive real payments.
- In your Mollie dashboard, copy your test and live API keys.
- Back in Wobbio, turn on Enable Mollie checkout and fill in the Test API key and the Live API key.
On your free Wobbio address, your shop uses the test key: you can try a payment without paying real money. Test payments only work for the internet addresses (IP addresses) you add under Test allowlist. On your own verified domain, your shop uses the live key and customers really pay.
Turning on Mollie turns off bank transfer and cash, and the other way round.
Under Currencies & VAT you set your currency and VAT. Select Save settings when you are done.
Follow your orders
All orders are on the Orders tab of your shop. Select View to see the Order details: what was ordered, by whom, and where it goes.
- Change the Status, for example to Shipped.
- Fill in the Tracking URL of the parcel. The customer gets an email with it.
An order paid by bank transfer or cash has the payment status Pending offline until you have the money. Check your bank account. When the money has arrived, open the order and select Mark as paid. The order then shows Paid, and the payment and its invoice in the Payments app are paid too.
Want an email for each new order? On the Settings tab of your shop, under Owner notifications, choose your Notification email.
Paid through Mollie and need to give money back? Refund the payment in your Mollie dashboard. The order then shows Refunded.